配置前的准备
1.通过Tomcat官网链接 http://tomcat.apache.org/ 下载合适的Tomcat
2.安装好Eclipse Jee Neon
3.配置好Java的JDK,新建Eclipse的workplace
在Eclipse Jee中配置Tomcat
点击上边栏Window里的Preferences选项,出现下图
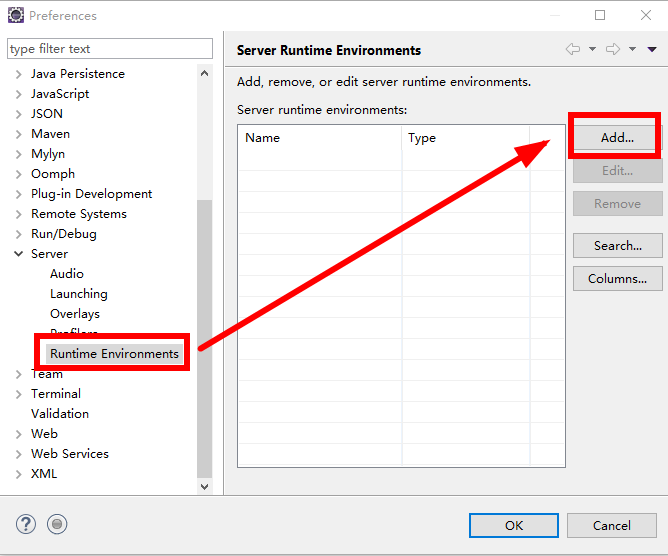
选择Server -> Runtime Environments -> add,出现下图

选择你下载的Tomcat的服务器版本,点击next
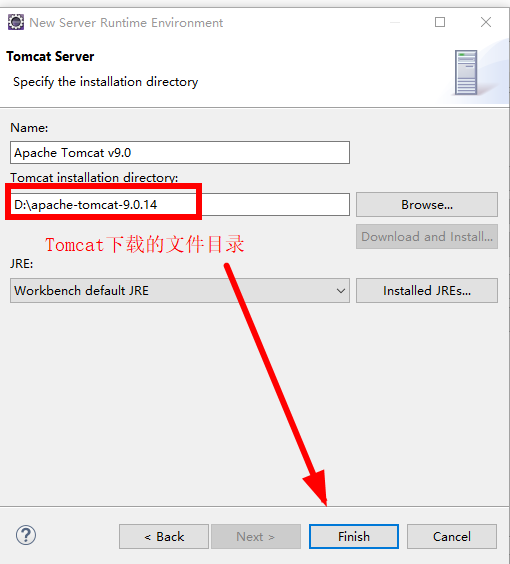
选择好下载的Tomcat的文件的目录,点击finish,点击ok
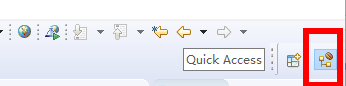
在下面的Servers选项卡点击蓝色的英文

选择下载的Tomcat版本并点击finish
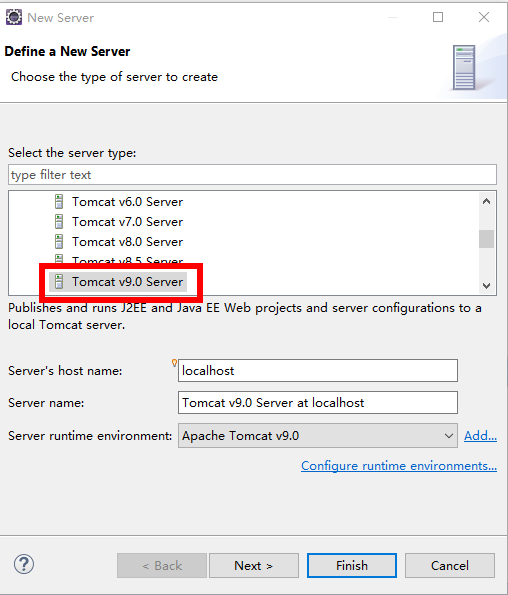
出现下图显示的Tomcat服务器并双击它

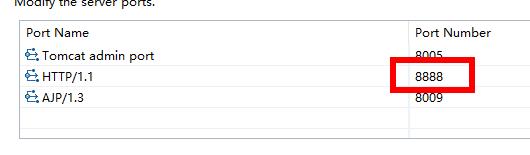
我这里更改了服务器访问的端口为8888
选择Use Tomcat…..如下图
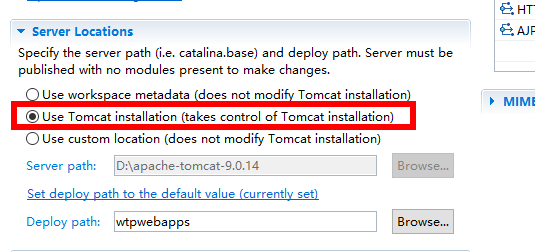
之后保存文件
鼠标右击服务器并点击start
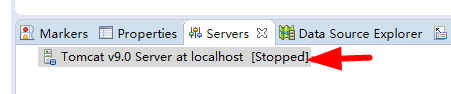
当Tomcat服务器显示started时,Tomcat服务器已经启动
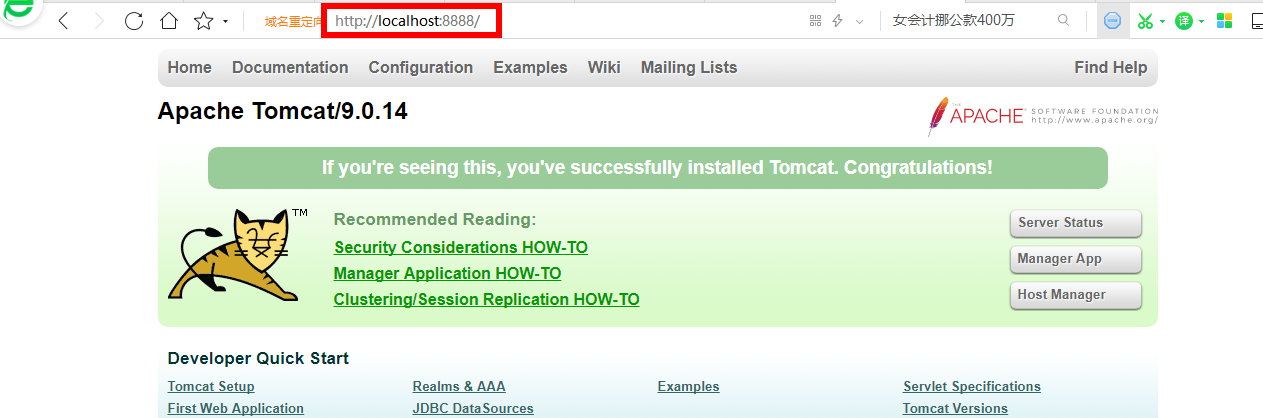
打开浏览器输入localhost:8888 (端口已设置为8888),出现Tomcat的所示页面则表明Tomcat配置完成,如下图
新建JSP Web项目
在eclipse左侧空白处,右键选择New->Dynamic Web Project(或者左上角File->New->Dynamic Web Project)。若New的选择列表中没有Dynamic Web Project,则选择Others,然后输入dynamic(一般输入dy就可以),选择Dynamic Web Project。出现如下图
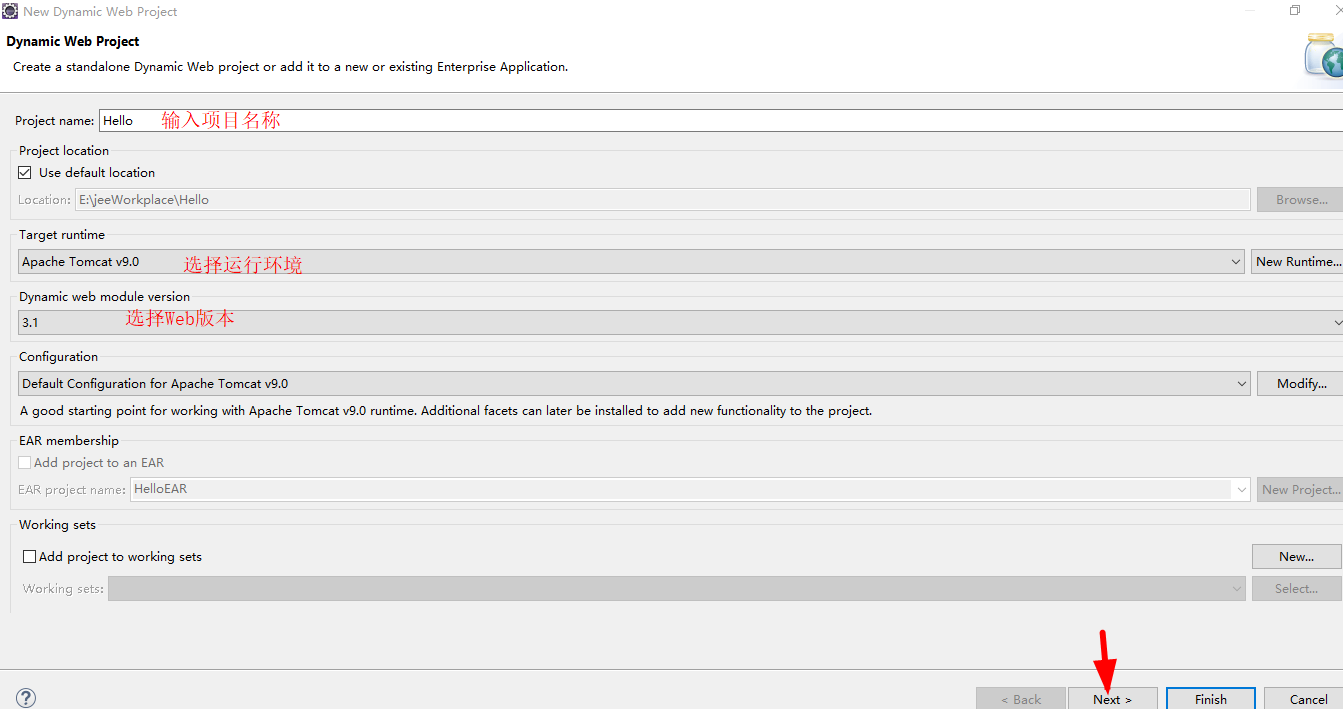
选择好之后点击next -> next如下所示
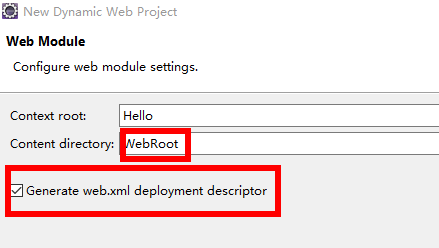
修改根目录文件名为WebRoot,下面打勾,最后点击finish
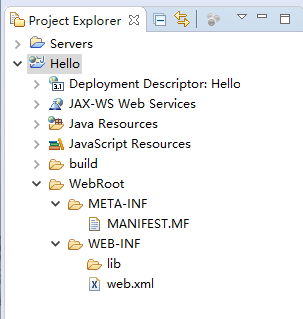
此时项目创建完毕,结果如下图的项目文件结构:
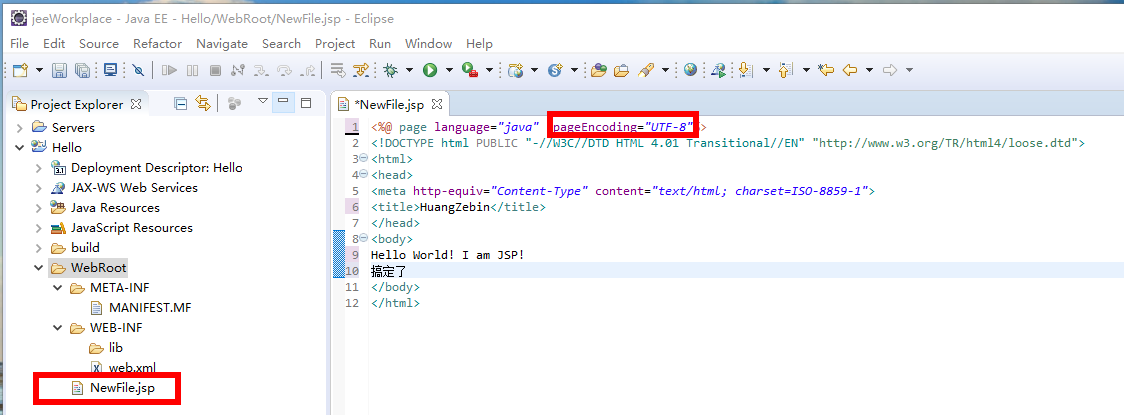
jsp项目需要写在WebRoot文件夹内,右击WebRoot添加Jsp File文件并编辑代码
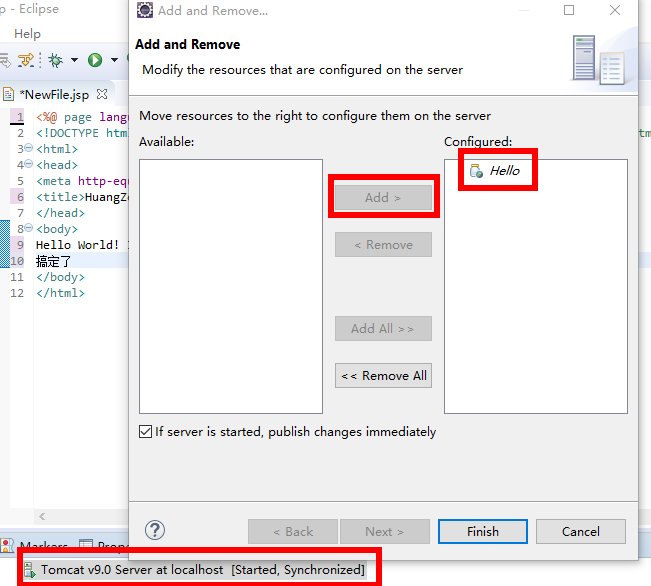
右击Tomcat服务器选择Add and Remove,将Hello项目向右部署到服务器
右击启动start Tomcat服务器或restart
在浏览器输入正确的URL则可以看到部署的JSP网页